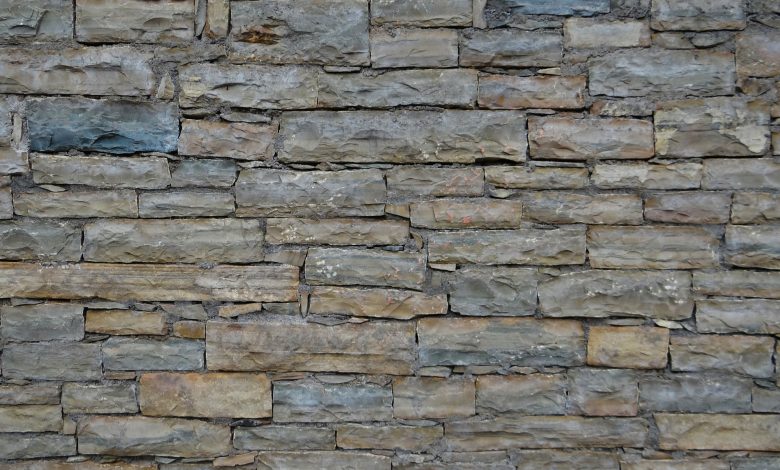
Installation of External Wall Cladding

Fitting Wall Claddings to the exterior of your home is one of the best decisions you can ever make. External wall claddings protect the structure of the house from moisture, pollution, and cracks while adding to its strength. They also transform the look of the whole living space. Natural stone wall claddings come in multiple colours and designs, giving you endless options for experimenting with creativity. While the technique of installing wall cladding may vary depending on the type of material, the installation process and preparation of the process remain the same. Here is a detailed guide on installing External Wall Cladding for you to do the installation yourself.
- Measure the exterior walls
This is the first and basic step in the installation process. You can select the quantity and type of exterior wall cladding materials once you know how much area to cover. Apart from the length and breadth of the walls, you would also have to measure the space around windows and doors. This will give you an idea for trims, corner pieces, and channels.
- Consider the electrical systems
Exterior cladding or exterior tiles must be installed in a way that they do not isolate the electrical connections or fuse board. Inspect the walls safeguarding against overheating or arching. For any electrical fixtures behind the cladding, please make provision to access it in the future. Get the help of an electrician to shift existing connections if required.
- Finish sheathing
External wall cladding is done on plywood sheaths. Claddings are not mounted directly on walls to avoid adding to the weight of the walls and adding an extra layer of protection. Moreover, exterior tiles can never be installed directly on the external walls. Therefore, please make sure the sheathing is complete beforehand.
- Foam insulation
In their haste to complete a project, do-it-yourself enthusiasts frequently forget about these two requirements. However, these components are essential to your home’s ultimate energy effectiveness and weather protection. Use your preferred paper, wrap the structure, and fasten it with staples. The foam insulation panels should next be nailed into place.
- Prepare the cladding
For the best result, the exterior wall cladding needs to be prepped before being installed. To remove dust and other debris, it is crucial to wipe the cladding with a moist cloth or cleaner. Sand the cladding’s exterior surface, then vacuum up the dust. Make sure the corners and edges are treated to ensure that every cladding panel is exactly aligned with the ones around it. To prevent wood warping after that, add two finish coatings to the surface.
- Installing the first row
You might need to start with a beginning row, depending on the siding material you are using. Please do not rush through this step. Start at the base of the wall so that the rest of the job can go in an aligned manner. Remember, you are laying the groundwork for the remaining work. Maintain the first row’s evenness throughout its length so that the following rows will all be straight.
- The next rows
You may fit the following rows of cladding after the first row has been installed. Each row needs to extend past the top of the bottom board whether you are using cement boards, wood siding, vinyl siding, or metal siding. This will stop water from running down the cladding’s back. The materials will typically feature a declination line to aid with your navigation.
- Trims and corner pieces
Most of the exterior wall claddings will include some unique components to complete the style of the house and increase its level of protection. J channels and corner pieces, for instance, are used in the installation of vinyl siding. The trim and corner pieces can be added after the wall siding is complete, but the channels must be installed first. This holds true for numerous types of cladding, including natural stone, brick, cement, and wood. After the walls are complete, add the trim, corners, and other final touches.
Concluding
Exterior Wall Cladding often needs professional help given the size of the walls and labour-intensive process. In case it is a single wall or a specific area in the walls, you can do it yourself. Please ensure using excellent quality adhesives while mounting the exterior tiles. The adhesive should also be resistant to moisture and heat or else the purpose of the cladding job will be defeated.


